Things to Know About Blown-In Insulation guide, Property insulating advice, Winter home warmth retention tips
Things to Know About Blown-In Insulation in Home
29 Jan 2021
Most older homes are often under-insulated, and for those who live in such dwellings, winters and summers are horrible seasons. It doesn’t have to be like this! There is a way to deal with this issue. The answer to such homes is blown-in insulation.
Continue reading below to learn about blown-in insulation, how to install it, and the tools and materials you need for the installation process.
5 Key Things You Should Know About Blown-In Insulation
- Blown in-insulation is filled between the existing ceiling joists and studs easily and quickly.
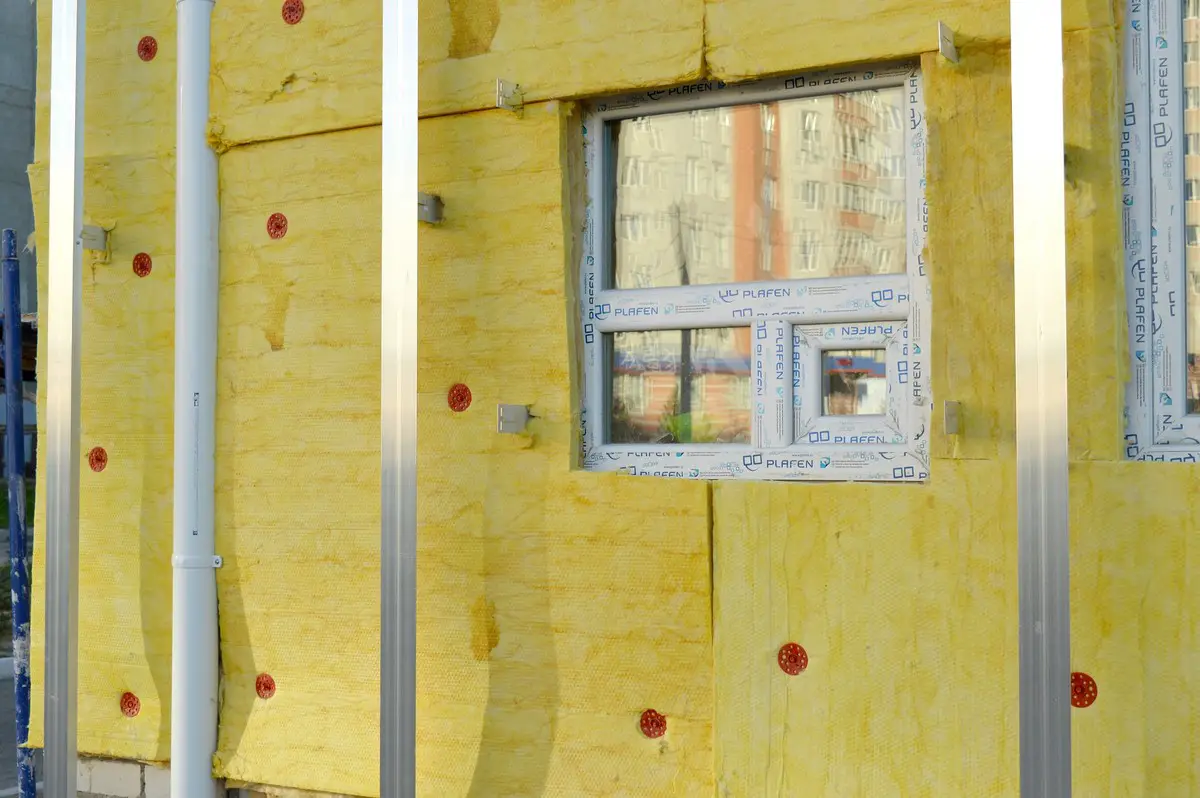
- There are some disadvantages associated with blown-in insulation. To install the insulation, you need to drill the top of every stud on the exterior side. The cavities are then plugged. However, if the siding is stucco or brick, the plugs may still be noticeable. Another disadvantage is that there is an obstruction in the wall, such as a drainpipe. In such cases, the insulation will not be installed and leaves a void, which may reduce the thermal insulation resistance over time as it settles.
- There are three main kinds of blown-in insulation. You can opt for loose-fill fiberglass (glass heated to liquid and spun into fibers), cellulose (finely shredded recycled cardboard-for eco-minded individuals), and rock wool/mineral wool (blast furnace slag).
- You can purchase your blown-in insulation from lumberyards and specific insulation store in UK.
- You can DIY blown-insulation installation in the attic area but not the walls. The rule of thumb remains that a DIY project’s success is knowing what you can handle successfully and what you should leave to a pro. Installing blown-in insulation in the attic is easy and safer since it doesn’t need special skills. However, when it comes to walls, there might be pipes and electrical wiring that require special skills.
Installing Blown-In Insulation like A Pro
If you are planning to DIY blown-in insulation installation, you should know some basics of the process and what’s needed beforehand.
Tools and Materials; What Do You Need
Before you begin the installation, check if you have the following materials and tools. If some are missing, go to any installation store in UK and get what you don’t have.
Tools
- Drill/driver and bits
- Tape measure
- Dusk mask
- Work light
- Work gloves
- Hard hat
- Eye protection
- Keen pads(optional)
Materials
- Blown-in insulation
- Spray foam
- Caulk
- House wrap
- Weather-stripping
- Plywood sheet
- Metal roll flashing
- House wrap tape
- High –temperature caulk
- Screws
- Pipe sleeves
- 2-in x 6-in boards
- Rafter vents
- Rigid foam insulation panels
- Drop cloth
Before Installing Blown-In Insulation
We will verse you with general guidelines for carrying out home insulation, but you should always follow the insulation manufacturer’s guidelines. Before starting, do the following:
- Check the local building code regarding R-Value recommendations and vapor barrier requirements that may apply to your area. A product’s R-value shows its insulation degree.
- Prep the space you are insulating by first sealing the gaps that allow unconditioned air to flow into it.
Note: homes built before 1980 may have asbestos. In this case, you need to consult a professional if you have doubts about your home.
Insulation Types and Materials
There are two key types of insulation: loose fill (also called blown-in insulation) and batt & roll insulation.
- Batt and roll insulation is ideal for joist and stud spaces, especially in wide-open areas or a crawlspace.
- Loose-fill (blown-in insulation) – this is suited for tight spaces or attic space with a layer of insulation that needs topping up. However, you need a machine to install loose-fill insulation. You can rent one.
You will need to choose the material to use. Generally, if you live in cold climates, opt for materials with higher R-Value. Fiberglass and cellulose insulation are some of the most used materials.
Blown-in Insulation Step by Step
Using a loose-fill machine is not a one-person job. So, you would need a second hand to complete the installation.
Instructions
Step 1: Connect the Hose to the Loose Fill Machine
Start by connecting the hose to the loose-fill machine. Next, feed half a bag of fill into the loose-fill machine and then turn on the hose and blow the insulation.
Step 2: Fill the Space with Insulation
Fill the spaces to the depth you need. Note that fiberglass loose-fill insulation is lightweight; therefore, be keen not to blow parts you have already blown. Also, avoid spraying the loose fill in the rafter vents.
Step 3: Raise Your Floor to Make Storage Space
If you want to utilize the attic as a storage area, you would want to raise the floor prior to adding the second fill. To do that, you can create a framework by placing perpendicularly 2-foot-by-6-foot panels over the old joists and then screw the entire structure together. Finally, screw the whole framework to the existing joists and then blow your insulation.
Step 4: Attach the Plywood
After frame insulation, attach the plywood on top of the structure.
Step 5: Go On To Fill the Attic
Fill the remaining attic with insulation. To fill close to the barriers, hold your gloved hand over the hose and push the insulation material downward.
Comments on this guide to Things to know about blown-in insulation article are welcome.
Edinburgh Architecture
image of the development
St James Quarter
Comments / photos for the Things to know about blown-in insulation Advice page welcome


